Go Back

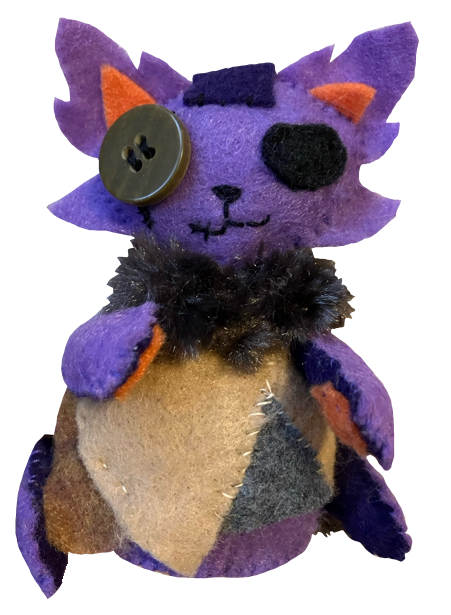
Left: Seam from Deltarune I made out of felt
Plushie Making
Left: Seam from Deltarune I made out of felt
Here are a few things to get started:
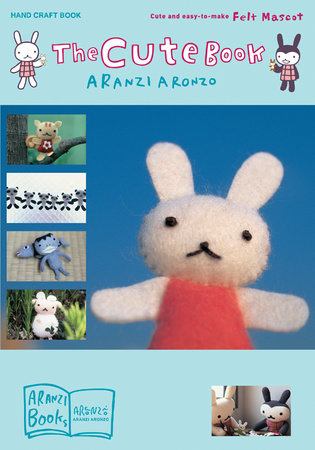
Borrow from the Internet Archive, download the PDF, or get it from your local library!
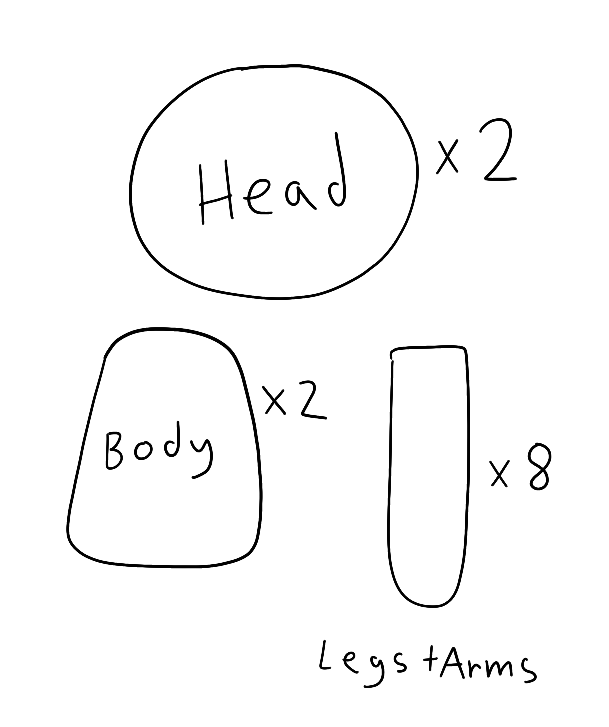
1. Trace these shapes onto the back side of the fabric (2 circles for the head, tworounded shapes for the body, 8 long shapes for the limbs. You can make the size and proportions whatever you want.
2. Sew the two head peices together with the wrong sides out (you will be turning it inside out). Leave a gap at the neck where it will connect to the body. Turn inside out, stuff, and add any details.
3. Sew each set of limb pieces together with the wrong sides out. Turn each inside out, and stuff.
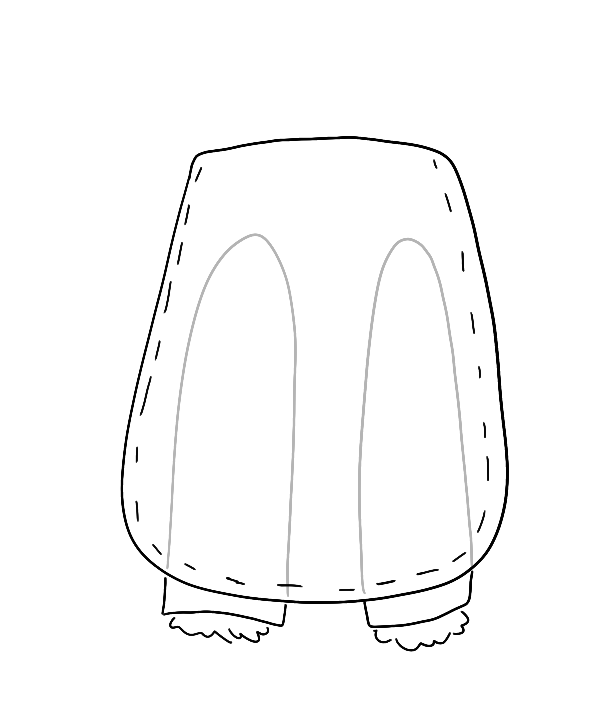
4. Place the body pieces together with wrong sides out, then place the legs inside like it's a sandwich. the wider part of the body is the bottom, so make sure the open-stuffing-ends of the legs are sticking out, as in the image. Sew body pieces together, sewing through the legs as you come to them. Don't sew up the neck area. Turn inside-out through neck area. Stuff body
5. Sew arms onto the outside of the body & Sew the head onto the neck.
Supplies you will need:
Needle and thread
Scissors (preferably fabric scissors, but regular scissors are okay to start with)
Fabric: the easiest fabics to work with are ones that don’t fray- felt, fleece, T-shirt material, "minky" fabric, etc. It's also a good way to recycle old clothing or other textiles.
A marker or pen to trace the pattern onto the fabric
Stuffing: something fluffy to fill your plush with. You can use some leftover fabric scraps for stuffing, but it won't be as soft.
Optional:
Pins (to help hold pieces together while you sew)
For details: Beads, Embroidery thread, Felt pieces, Buttons
Those little plastic beans for weight
Sewing machine if you have one
Tying a knot - to anchor the thread at the beginning and end
Running stitch - the main stitch
Ladder Stitch - to sew up the last seam after stuffing
There of plenty of tutorials available for these online!
Some beginner patterns
Borrow from the Internet Archive, download the PDF, or get it from your local library!
My Basic Pattern
1. Trace these shapes onto the back side of the fabric (2 circles for the head, tworounded shapes for the body, 8 long shapes for the limbs. You can make the size and proportions whatever you want.
2. Sew the two head peices together with the wrong sides out (you will be turning it inside out). Leave a gap at the neck where it will connect to the body. Turn inside out, stuff, and add any details.
3. Sew each set of limb pieces together with the wrong sides out. Turn each inside out, and stuff.
4. Place the body pieces together with wrong sides out, then place the legs inside like it's a sandwich. the wider part of the body is the bottom, so make sure the open-stuffing-ends of the legs are sticking out, as in the image. Sew body pieces together, sewing through the legs as you come to them. Don't sew up the neck area. Turn inside-out through neck area. Stuff body
5. Sew arms onto the outside of the body & Sew the head onto the neck.